
Introduction
As homeowners, we always look for ways to enhance the aesthetics and functionality of our homes. One great way to achieve this is by installing ceiling caps. A ceiling cap, also known as a ceiling medallion, is a decorative element that can be installed around a ceiling fixture such as a chandelier or ceiling fan. It adds an elegant and sophisticated touch to any room. In this article, we will take a look at the different types of ceiling caps, their benefits, installation process, and maintenance.
Types of Ceiling Caps
There are several types of ceiling caps available in the market. Here are some of the common ones:
Traditional Ceiling Caps
Traditional ceiling caps are made of plaster or polyurethane and have intricate designs that add an ornate touch to a room. These are perfect for vintage or classic interiors.
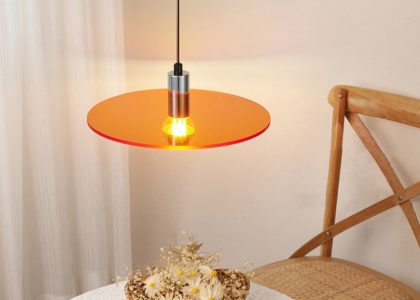
Modern Ceiling Caps
Modern ceiling caps are made of wood, metal or even glass. These are quite simple in design and are ideal for contemporary interiors.
Custom Ceiling Caps
Custom ceiling caps can be made to match any design scheme. These are perfect when you want a specific design or shape that is not readily available in the market.
Benefits of Ceiling Caps
Ceiling caps offer several benefits apart from enhancing the aesthetics of a room. Here are some of them:
Hide Imperfections
Ceiling caps can be used to hide any imperfections on the ceiling such as cracks or uneven surfaces.
Enhance Lighting
Ceiling caps are also great for enhancing the lighting in a room. They help to direct the light and create a focal point around the ceiling fixture.
Increase Property Value
Installing ceiling caps can increase the value of your property. It adds an upscale touch to your home, which can be attractive to potential buyers.
Installation Process
Installing a ceiling cap is not a complicated process. Here are the steps involved:
Gather Materials
You will need a ceiling cap, adhesive, ladder, screws, and a screwdriver.
Clean the Ceiling
Clean the surface where you will be installing the ceiling cap. Ensure it is free of any dust or debris.
Position the Ceiling Cap
Hold the ceiling cap to the ceiling to ensure it fits around the fixture.
Apply Adhesive
Apply adhesive to the back of the ceiling cap and press it onto the ceiling. Hold the ceiling cap in place for a few minutes until the adhesive dries.
Add Screws
Finally, add screws to the ceiling cap to secure it in place.
Maintenance
Maintaining ceiling caps is quite easy. Here are some tips to keep them looking their best:
Clean Regularly
Clean your ceiling cap regularly using a soft cloth or duster to remove any dust or debris.
Avoid Harsh Cleaners
Avoid using harsh cleaners or abrasive materials that can damage the surface of the ceiling cap.
Repair Any Damage
If you notice any damage or cracks on the ceiling cap, repair them immediately to prevent further damage.
Conclusion
Ceiling caps add a touch of elegance and sophistication to any room. There are several types to choose from, and they offer several benefits such as hiding imperfections and enhancing lighting. Installing ceiling caps is not a complicated process, and maintenance is quite easy. Consider adding a ceiling cap to your home today and enjoy the added beauty it brings.